YouTube Live offers a powerful way to connect with your audience in real time, making it an essential tool for content creators, businesses, and influencers. Whether you’re hosting Q&A sessions, to streaming gameplay, live streaming can help boost engagement, increase watch time, and grow your community.
In this step-by-step guide we’ll show you how to start live streaming on YouTube from desktop and mobile, plus, give you tips on equipment setup, monetization strategies and improving your stream quality.
Why Live Stream on YouTube?
With nearly 2.5 billion monthly active users, YouTube is a massive platform for content creators, businesses, gamers, musicians, and influencers. YouTube Live enables real-time interaction with your audience, helping you build a community, boost engagement, and increase watch time.
Live streaming is perfect for a variety of content types, including:
- Gaming sessions
- Music performances
- Product launches
- Special announcements
- IRL (In Real Life) experiences
- Q&A sessions
Additionally, YouTube offers features like Super Chat, Super Stickers, live polls, and YouTube Shopping integrations, allowing you to monetize your live streams effectively. You can also increase channel visibility and create lasting connections by engaging directly with viewers during streams.
Requirements for YouTube Live Streaming
Before you start streaming, ensure you meet YouTube’s eligibility requirements:
- Your YouTube account must be verified
- No minimum subscribers required for desktop streaming
- At least 50 subscribers required for mobile streaming (1,000 for users aged 13-17)
- No live streaming restrictions in the last 90 days
- A 24-hour activation period may be required before your first stream
- A stable internet connection is recommended, YouTube suggests at least 3 Mbps upload speed for HD streaming
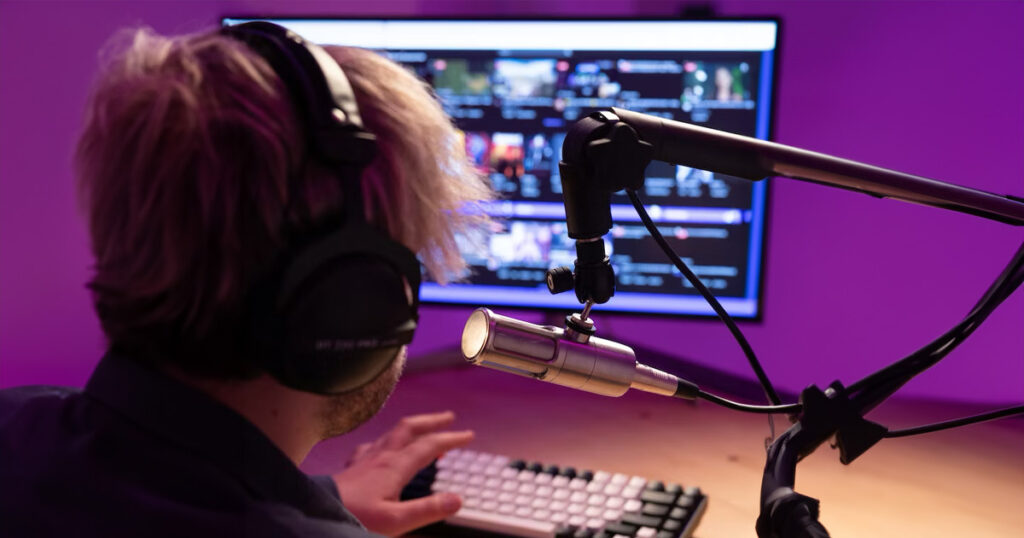
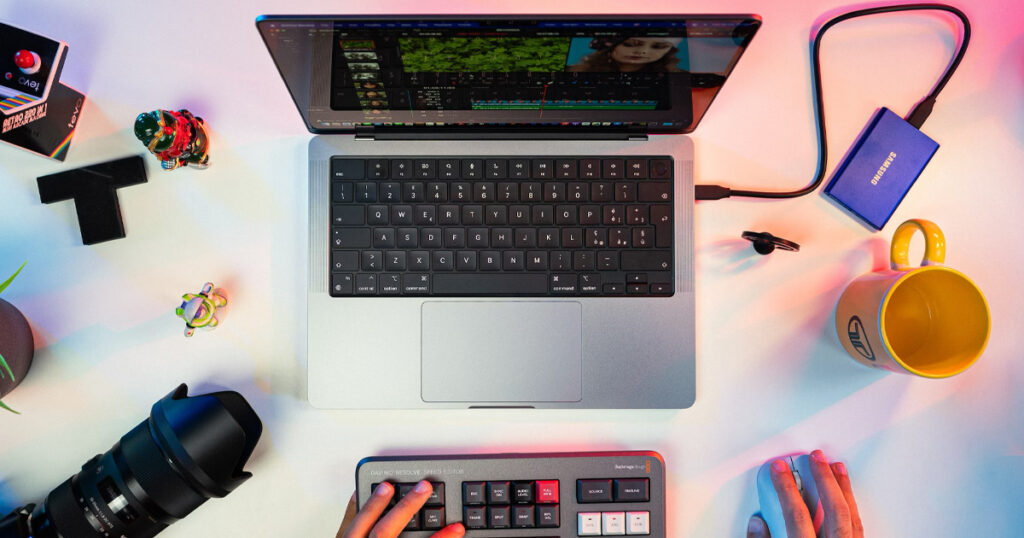
Essential Equipment for Live Streaming
To set up a smooth and high-quality live stream, you will need:
- A verified YouTube account
- A camera (built-in webcam, external webcam, or high-end DSLR)
- A microphone (external USB mic recommended for better audio quality)
- A computer or mobile device
- Streaming software (YouTube Studio or third-party apps like StreamYard)
How to Go Live on YouTube: Step-by-Step
Note: You can go live directly from YouTube on both desktop and mobile. Here’s how to do it on each device
How to Go Live on YouTube from Desktop
1. Log in to YouTube
- Click the “Create” button (camera icon) in the top-right corner, then select “Go Live.”
2. Set Up Your Equipment
- Connect your camera to your computer via USB
- If using a DSLR, install the necessary software (e.g., EOS Utility for Canon, Cam Link for HDMI devices)
- Plug in your microphone for better sound quality
3. Choose a Streaming Platform
- Direct YouTube Streaming: Go to YouTube, click Create > Go Live. This is the best option for beginners or if you’re just starting out because there is no need for third party software
- Third-Party Streaming Software: Use StreamYard for better stability and multi-platform streaming.
4. Schedule Your Stream
- This is good so people can be aware of when you will go live, allowing for as many people as possible to attend your stream
- Add a title and description
- Select public, unlisted, or private visibility
- Upload a thumbnail
- Set stream date and time
5. Connect YouTube to StreamYard (Optional but Recommended)
- Sign in to StreamYard and go to Destinations
- Click Add Destination > Connect YouTube Account (one-time setup)
- Under Broadcasts, click Create > Live Stream
- Select your stream destination and add details
6. Check Camera and Audio Settings
- Enter StreamYard Studio.
- Ensure the correct camera and microphone are selected.
- Enable echo cancellation and mic volume optimization.
Quick Tip – Always run a private test stream first to check your setup.
7. Start Your Stream
- Click Go Live in the top-right corner
- Interact with viewers using live chat, Super Chat, and polls
8. End the Stream
- Click End Stream when finished
- YouTube will automatically save the stream as a video on your channel
How to Go Live on YouTube from Mobile
- Open the YouTube app and tap the “+” button
- Select “Go Live.”
- Add a title, description, and choose privacy settings
- Optional – Add a custom thumbnail
- Tap “Go Live” to start streaming from your mobile device
- End the stream by tapping “Finish.”
Just FYI – You need to have at least 50 subscribers for mobile streaming.
Best Practices for Live Streaming Success
- Engage With Your Audience – Interact with viewers through comments, Q&As, and live polls to build a stronger connection.
- Schedule Streams in Advance – Notify subscribers early so they can set reminders and increase attendance.
- Use High-Quality Equipment – A good camera, microphone, lighting, and stable internet ensure a professional stream.
- Promote Your Stream – Share your stream link on social media and via email to attract more viewers.
- Monetize Your Stream – Use Super Chat, memberships, YouTube Shopping, and ads to generate revenue.
Following these steps will boost engagement, grow your audience, and enhance your live streaming success.
Final Thoughts
Live streaming on YouTube is an excellent way to build engagement, increase watch time, and monetize content. Whether you’re gaming, teaching, or performing, following these steps will ensure a seamless live streaming experience. By following best practices and using the right setup, you can make every stream a success and grow your channel faster.
Ready to go live? Start setting up your stream today!